
General rules for using the Platform
In this section, you can familiarize yourself with the general principles of working with platform elements and additional features that are present on most tables and spaces.
Login brute force protection
At our platform, we prioritize the security of your account and strive to provide you with a safe and protected environment. As part of our ongoing commitment to security, we have implemented a robust brute force protection feature for our login page.
What is brute force protection? When multiple unsuccessful login attempts occur within a specified timeframe, our system will temporarily lock your account as a security measure. This temporary lockout period is implemented to deter any unauthorized access attempts and provide an additional layer of protection for your account.
How does it work? When multiple unsuccessful login attempts are detected on your account within a specified time period, the brute force protection feature temporarily locks your account for a designated duration. This temporary lockout prevents further login attempts, giving the attacker limited chances to guess your password successfully.
When your account is locked, a message will be displayed on the login page notifying you of the temporary lockout. The message will state: "Too many unsuccessful login attempts. Your account has been temporarily locked for 5 minutes. Please try again later or contact our support team if you need assistance."
We understand that encountering a temporary lockout can be inconvenient, but it is crucial for maintaining the security of your account. After the lockout period expires, you can attempt to log in again using your correct credentials.
To ensure the timely response and investigation of potential security issues, our system is designed to send alerts in various forms.
For the user, a warning email will be sent to the email address associated with your User/Admin login. The email will have the subject line "TheViewPoint | Login Issue" and will be sent from noreply@theviewpoint.com.
Please note that during the lockout period, the option to restore your account will be disabled for security reasons. This prevents any potential unauthorized restoration attempts.
“Unsaved Changes” Warning
The Unsaved Changes Warning feature is designed to provide a safety net for your work, preventing the accidental loss of unsaved changes. When you modify an existing entity in Theviewpoint, such as editing fields or updating data, the system automatically detects any unsaved changes.
If you attempt to navigate away from the page without saving your modifications, a Modal window will appear in the center of your screen to inform you about the unsaved changes and the potential consequences of leaving the page without saving.
Below the message, you'll find two distinct buttons. The "Yes" button confirms your intent to leave the page, discarding the unsaved changes. This button allows you to proceed if you are certain that you no longer need the modifications.
On the other hand, the "No" button provides a way to cancel the action and return to the page with the unsaved changes intact. You can also close the Modal window by clicking on the "cross" icon or outside the window in any empty area.
The message aims to capture your attention and make you pause before proceeding.
Field validation
Field validation | ||
|---|---|---|
Field | Validation | Error text |
Name |
| Name length up to 100 characters |
List |
| - |
Description |
| Field length up to 5 000 characters and only latin characters, digits and special symbols |
Fields with percentages |
| - |
Filtering and sorting in tables
Filtering and sorting in tables | ||
|---|---|---|
Action type | Description | Screenshot |
Sorting | When you click on the sort icon, the data in the column will be sorted from highest to lowest and in reverse order. | 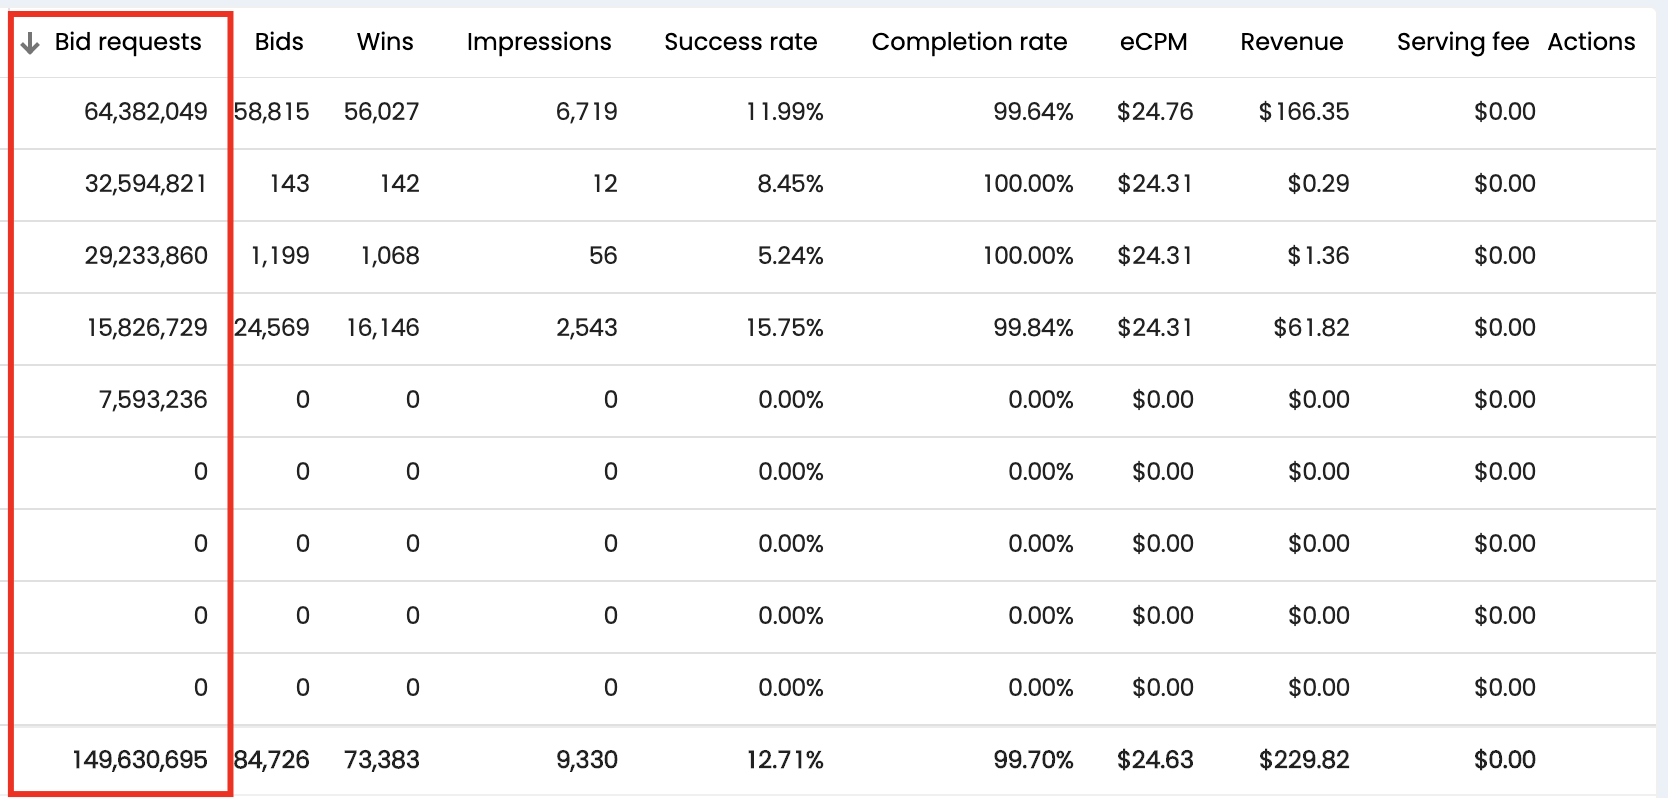 |
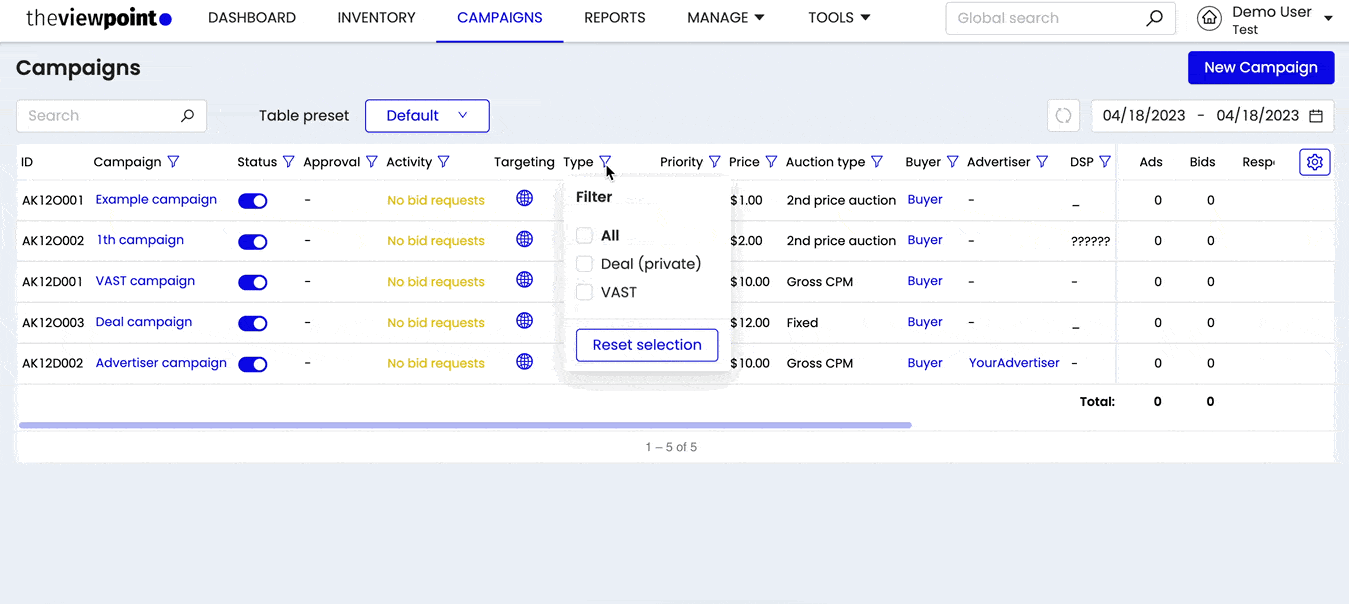
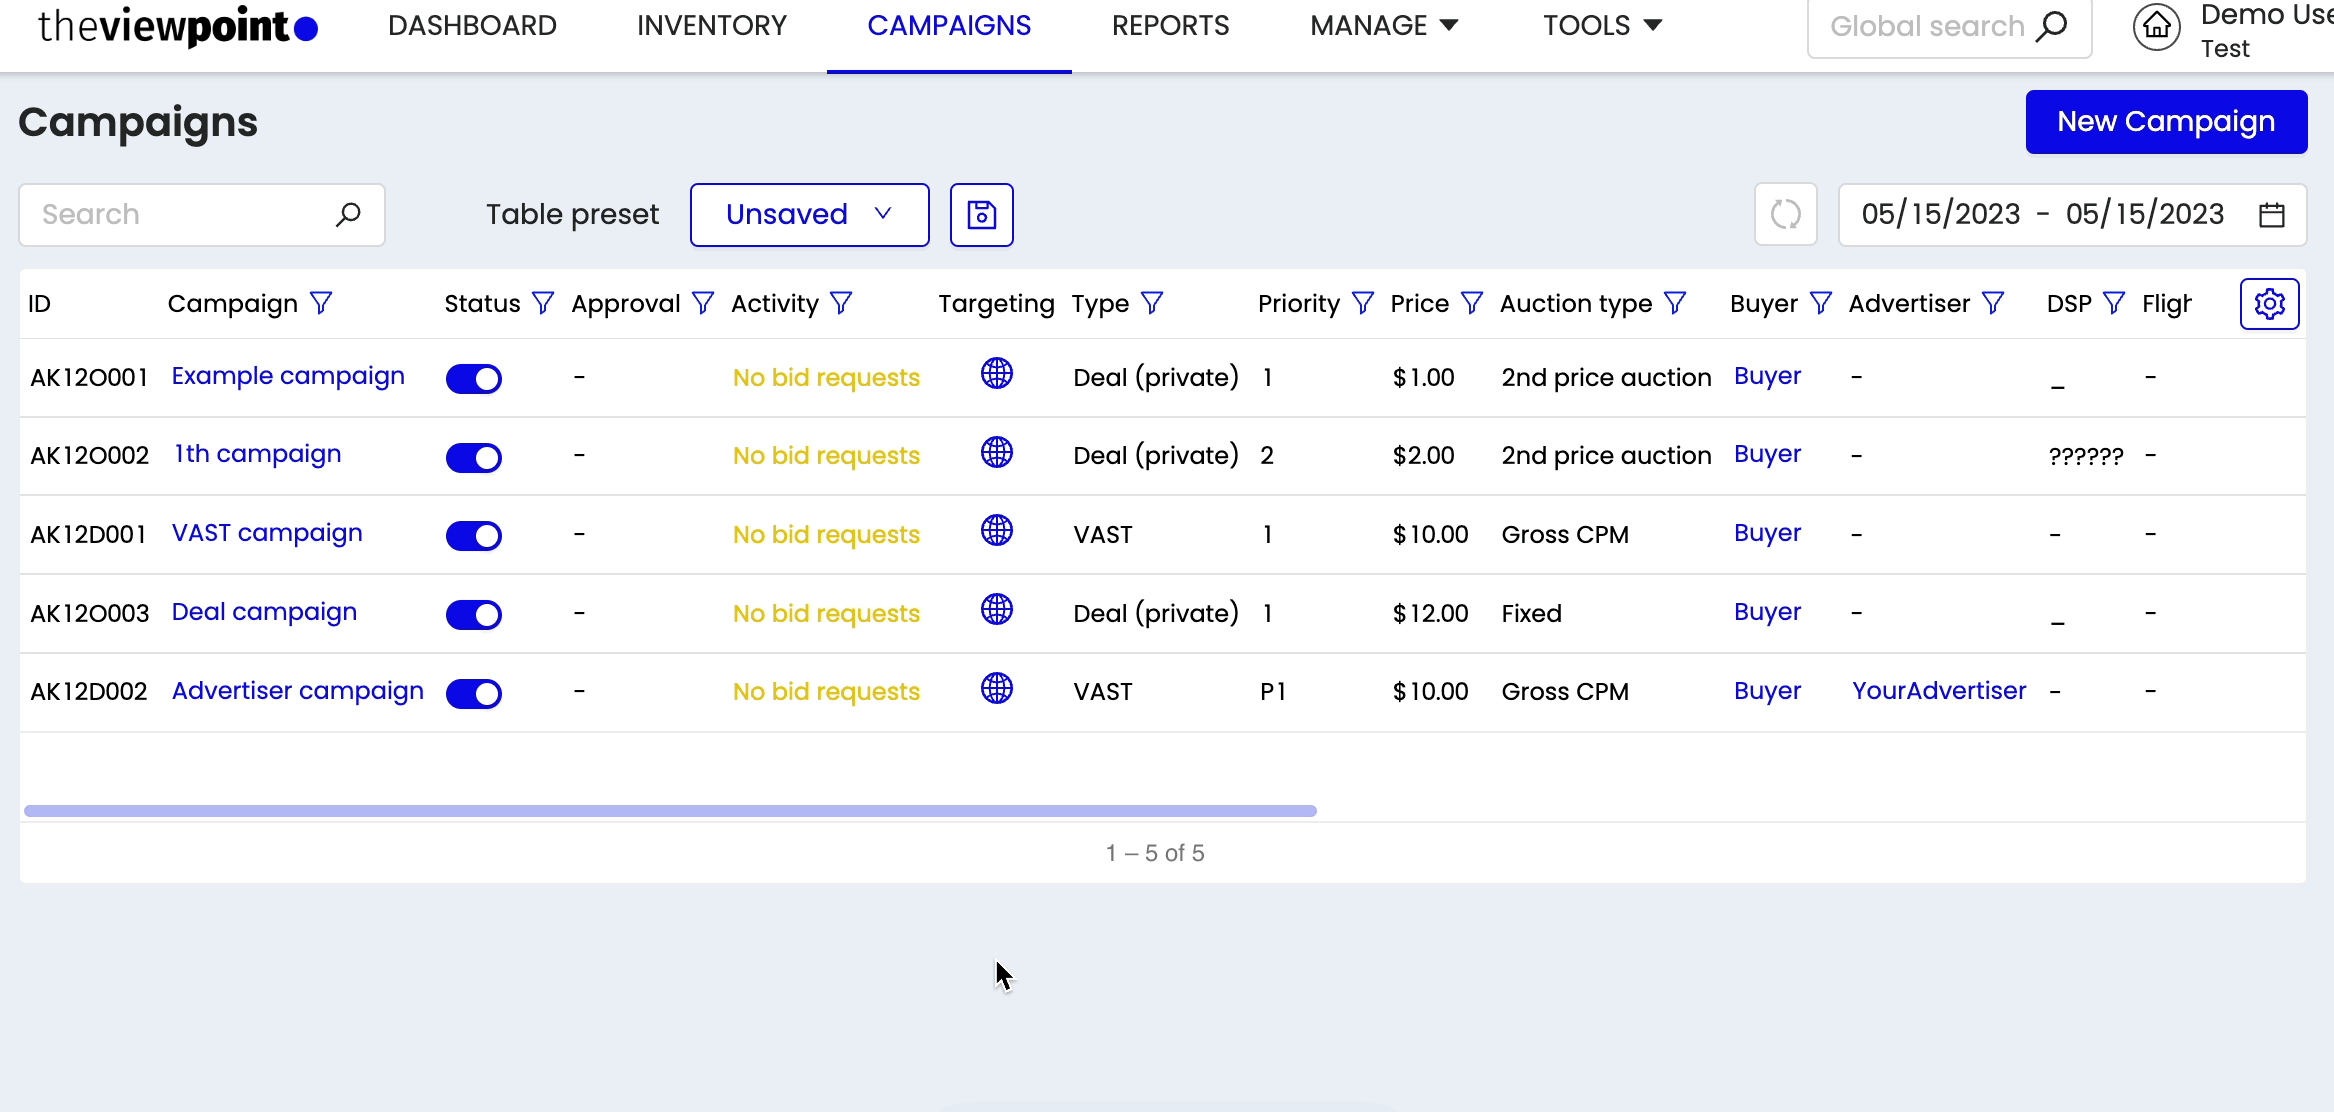
Filtering | When you click on the filter icon, a block will open. You can filter information in a selected column in it. You can also select all list items that match the fragment of the entered value using "Select all matches". This works for columns where a built-in search field is provided. You can reset all filtering settings by clicking on the “Reset selection“ button. | 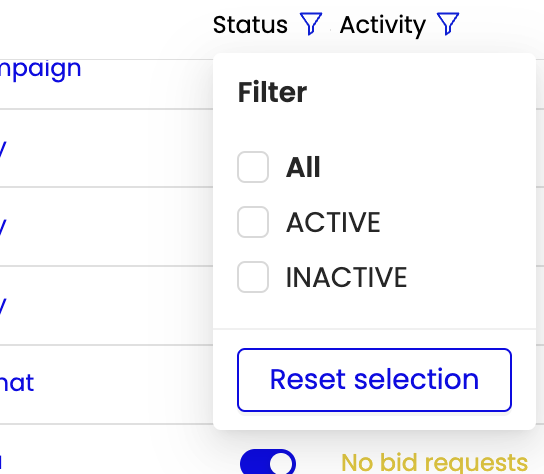 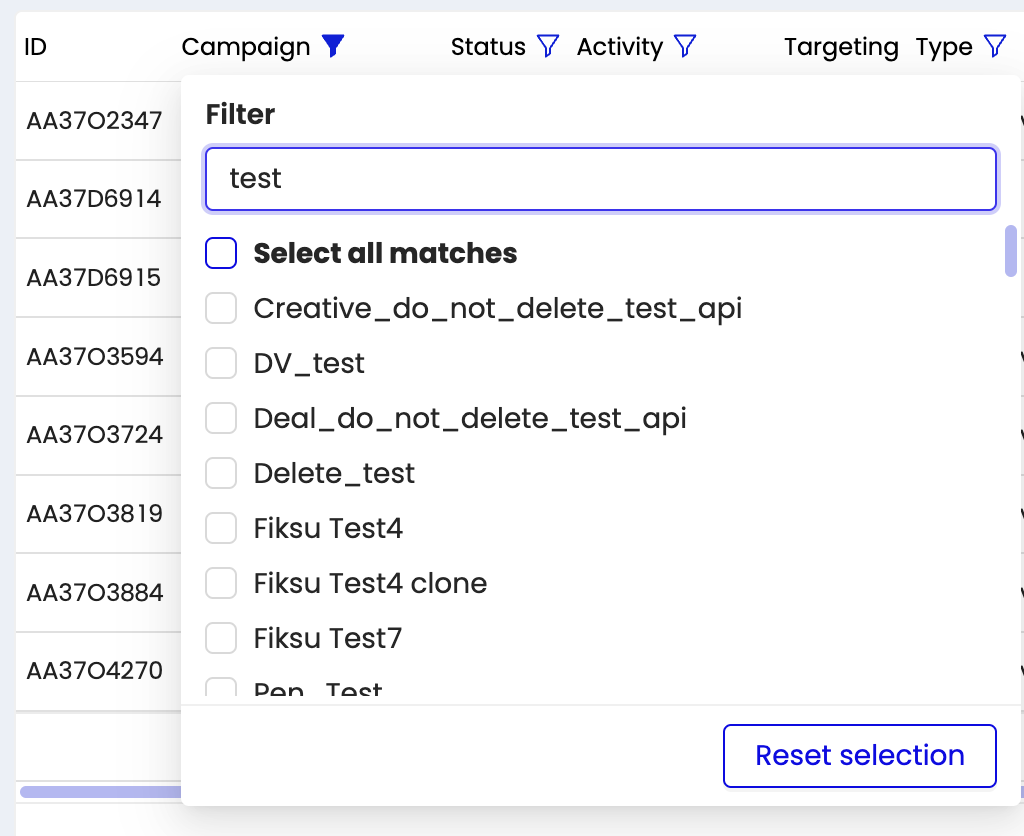 |
Table View Presets
Table View Presets empower you to optimize your workflow, providing a range of customizable options to match your specific needs.
With Table View Presets, you can easily manage and customize your table views, catering to different types of work and boosting your efficiency.
Custom and Default Presets. Creating and Saving Presets
Default Preset: Your System Default View: The first preset in the list is the "Default" preset, which represents the system default view for each table. This preset is always located at the top of the list and cannot be modified or deleted.
To create a new table preset, follow these steps:
Adjust the necessary table and filter settings.
Next to the "Search" field, you will find the "Table preset" button/drop, whose name will change to "Unsaved" and a "Save As" button will appear next to it. Click on the "Save As" button.
After the previous step, a small modal window will open with a field for entering a name for the new preset. Enter a name and save with “Ok“ button.
After successful creation, the new preset will appear in the general list. Click on the button/drop to reveal the list of available presets.

The presets in the drop-down menu are sorted from oldest to newest. This allows you to locate and access your most recently created presets easily.
When naming your preset, keep in mind the following best practices:
The preset name should be up to 50 characters long.
Use Latin characters, numbers, and symbols for the name.
If the preset name is too long, it will be automatically truncated with "..." to fit within the drop-down menu.
Additionally, the system ensures you cannot create presets with the same name for one table by one user.
To delete the preset, locate the delete button next to the preset name and click on it.
Note: Deleting a preset will remove it from the drop-down menu, and the preset will no longer be available for selection.
By following these steps, you can successfully create a new table preset that suits your specific needs. This feature allows you to save time and effort by easily switching between different table views, streamlining your workflow
Calendar settings
Calendar | ||
|---|---|---|
Case | Description | Screenshot |
Back and Forward Buttons | Back and Forward buttons inside the calendar field, making it easier than ever to switch dates within your selected period. Just click the Back button to go back in time or the Forward button to move forward. The calendar will smoothly adjust to your chosen period. These buttons adapt to your needs, whether it's a specific date, a week, or any custom period. For instance, if you've chosen 3 days, clicking Forward will take you to the next 3 days. | 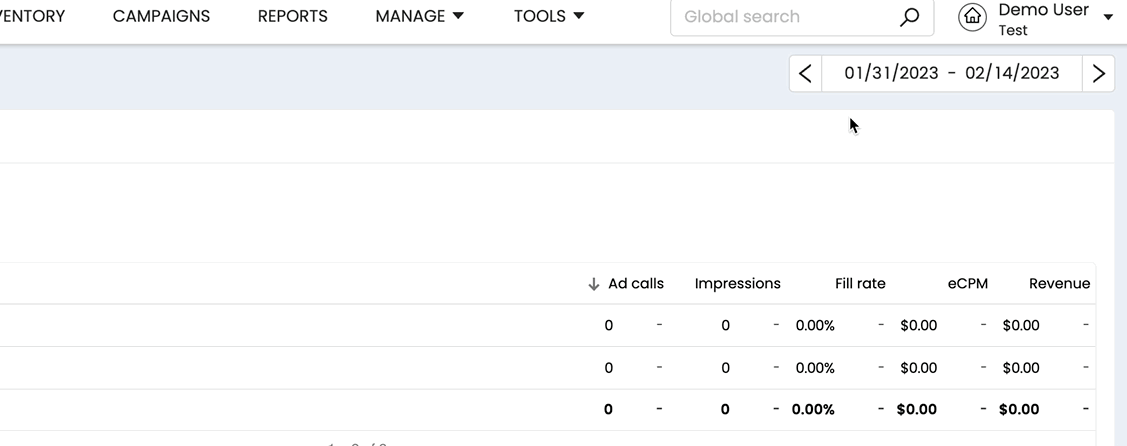 |
First click | Selects the start date | 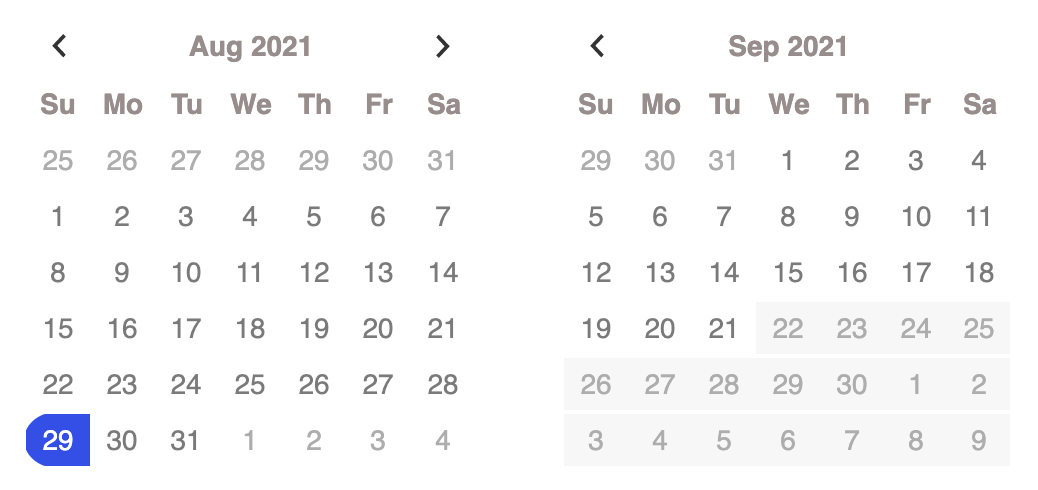 |
Second click | Selects the end date. After a second click, the calendar is closed with the selected range. | 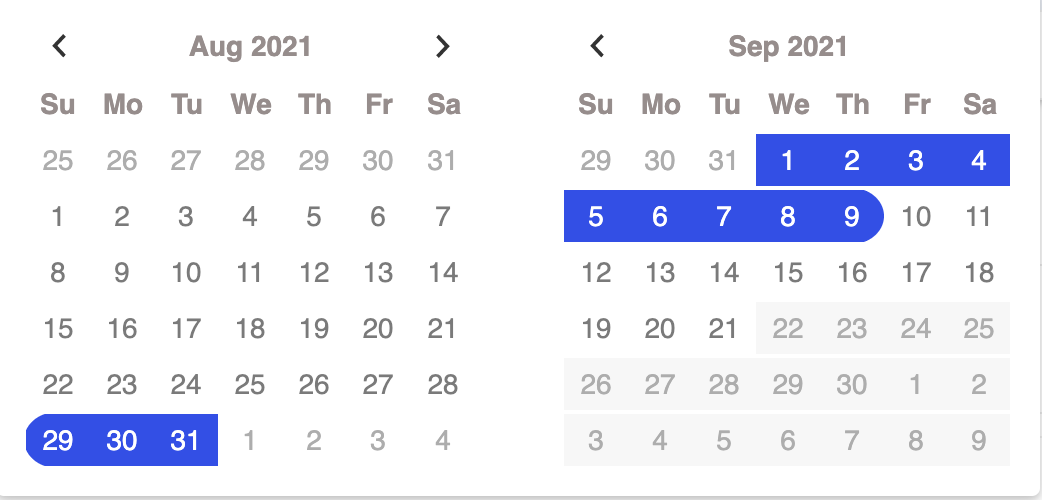 |
Comparison of periods | Activate the comparison of values for different periods. To do this, turn on the switcher and select a period for comparison. | 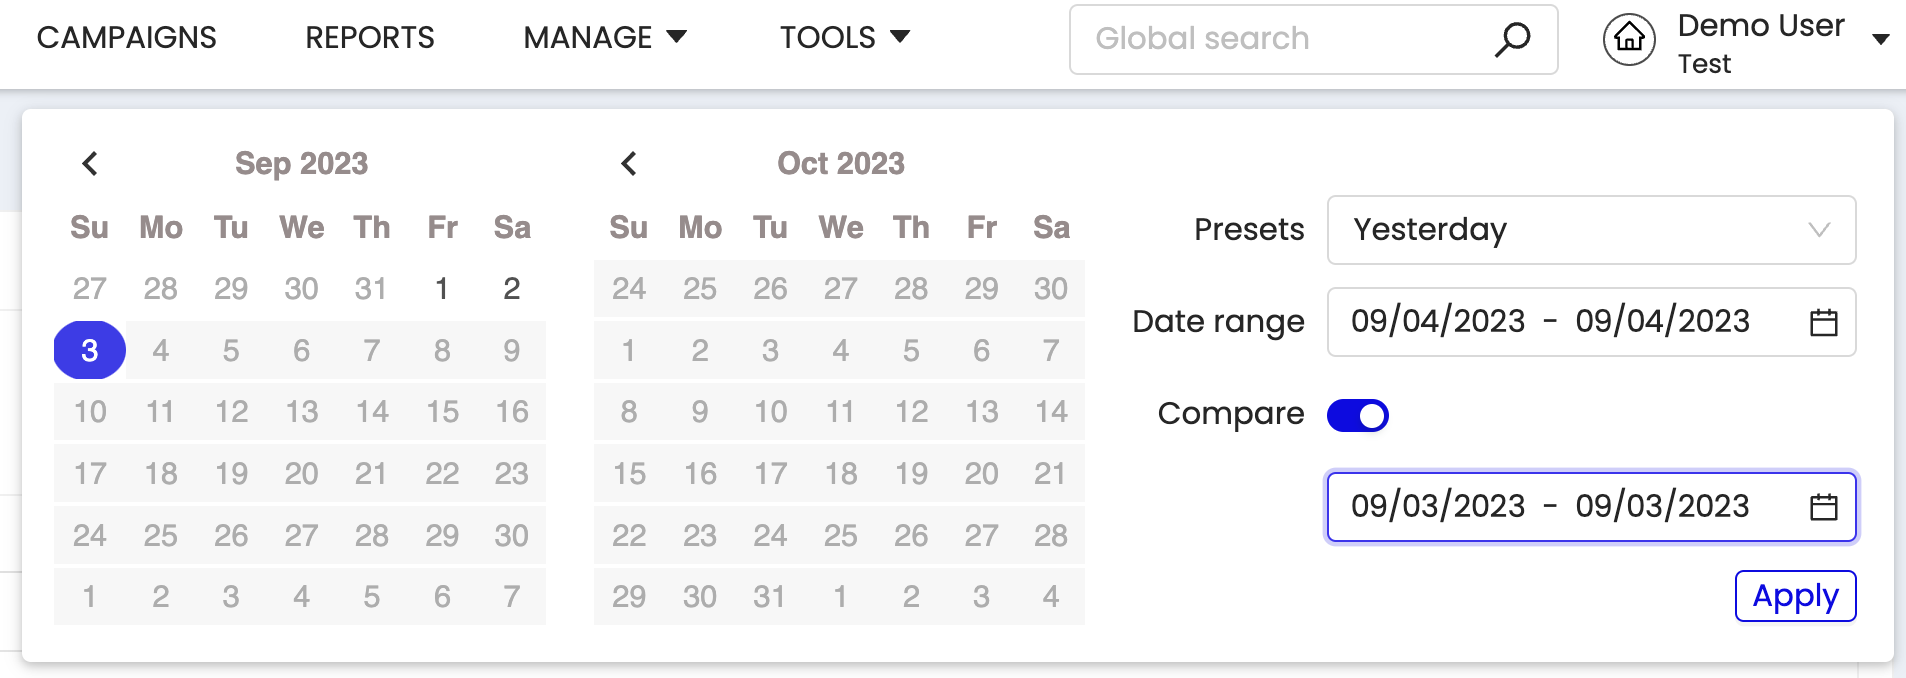 |
In all reports with division by day / hour, sort by date / hour in descending order. | ||
Compare | |
|---|---|
Case | Display |
If the number changes from 0 to a value greater than 0 | +∞% |
If the changes are upward by more than 999% | +∞% |
If the changes are downward by more than 999% | -∞% |
Time Zone settings
Time Zone | |
|---|---|
Case | Description |
Default display | The Platform will display the values/statistics for the time zone that are preset in your profile. The data related to the time zone (for example, in reports, campaigns, charts with statistics) changes immediately after the change in the account settings. |
Change Time Zone | You can change the time zone in your profile - https://console.theviewpoint.com/profile Profile description - My profile |
Launching a report in a different time zone | When setting up a report, select the required time zone in the “Time zone” field. The selected time zone will be used to generate the report The time zone of your profile will not be affected. |
Informers view
Informers | |
|---|---|
Case | Screenshot |
An informer next to the setting/parameter in the form of an icon, visible only when it clicked. |
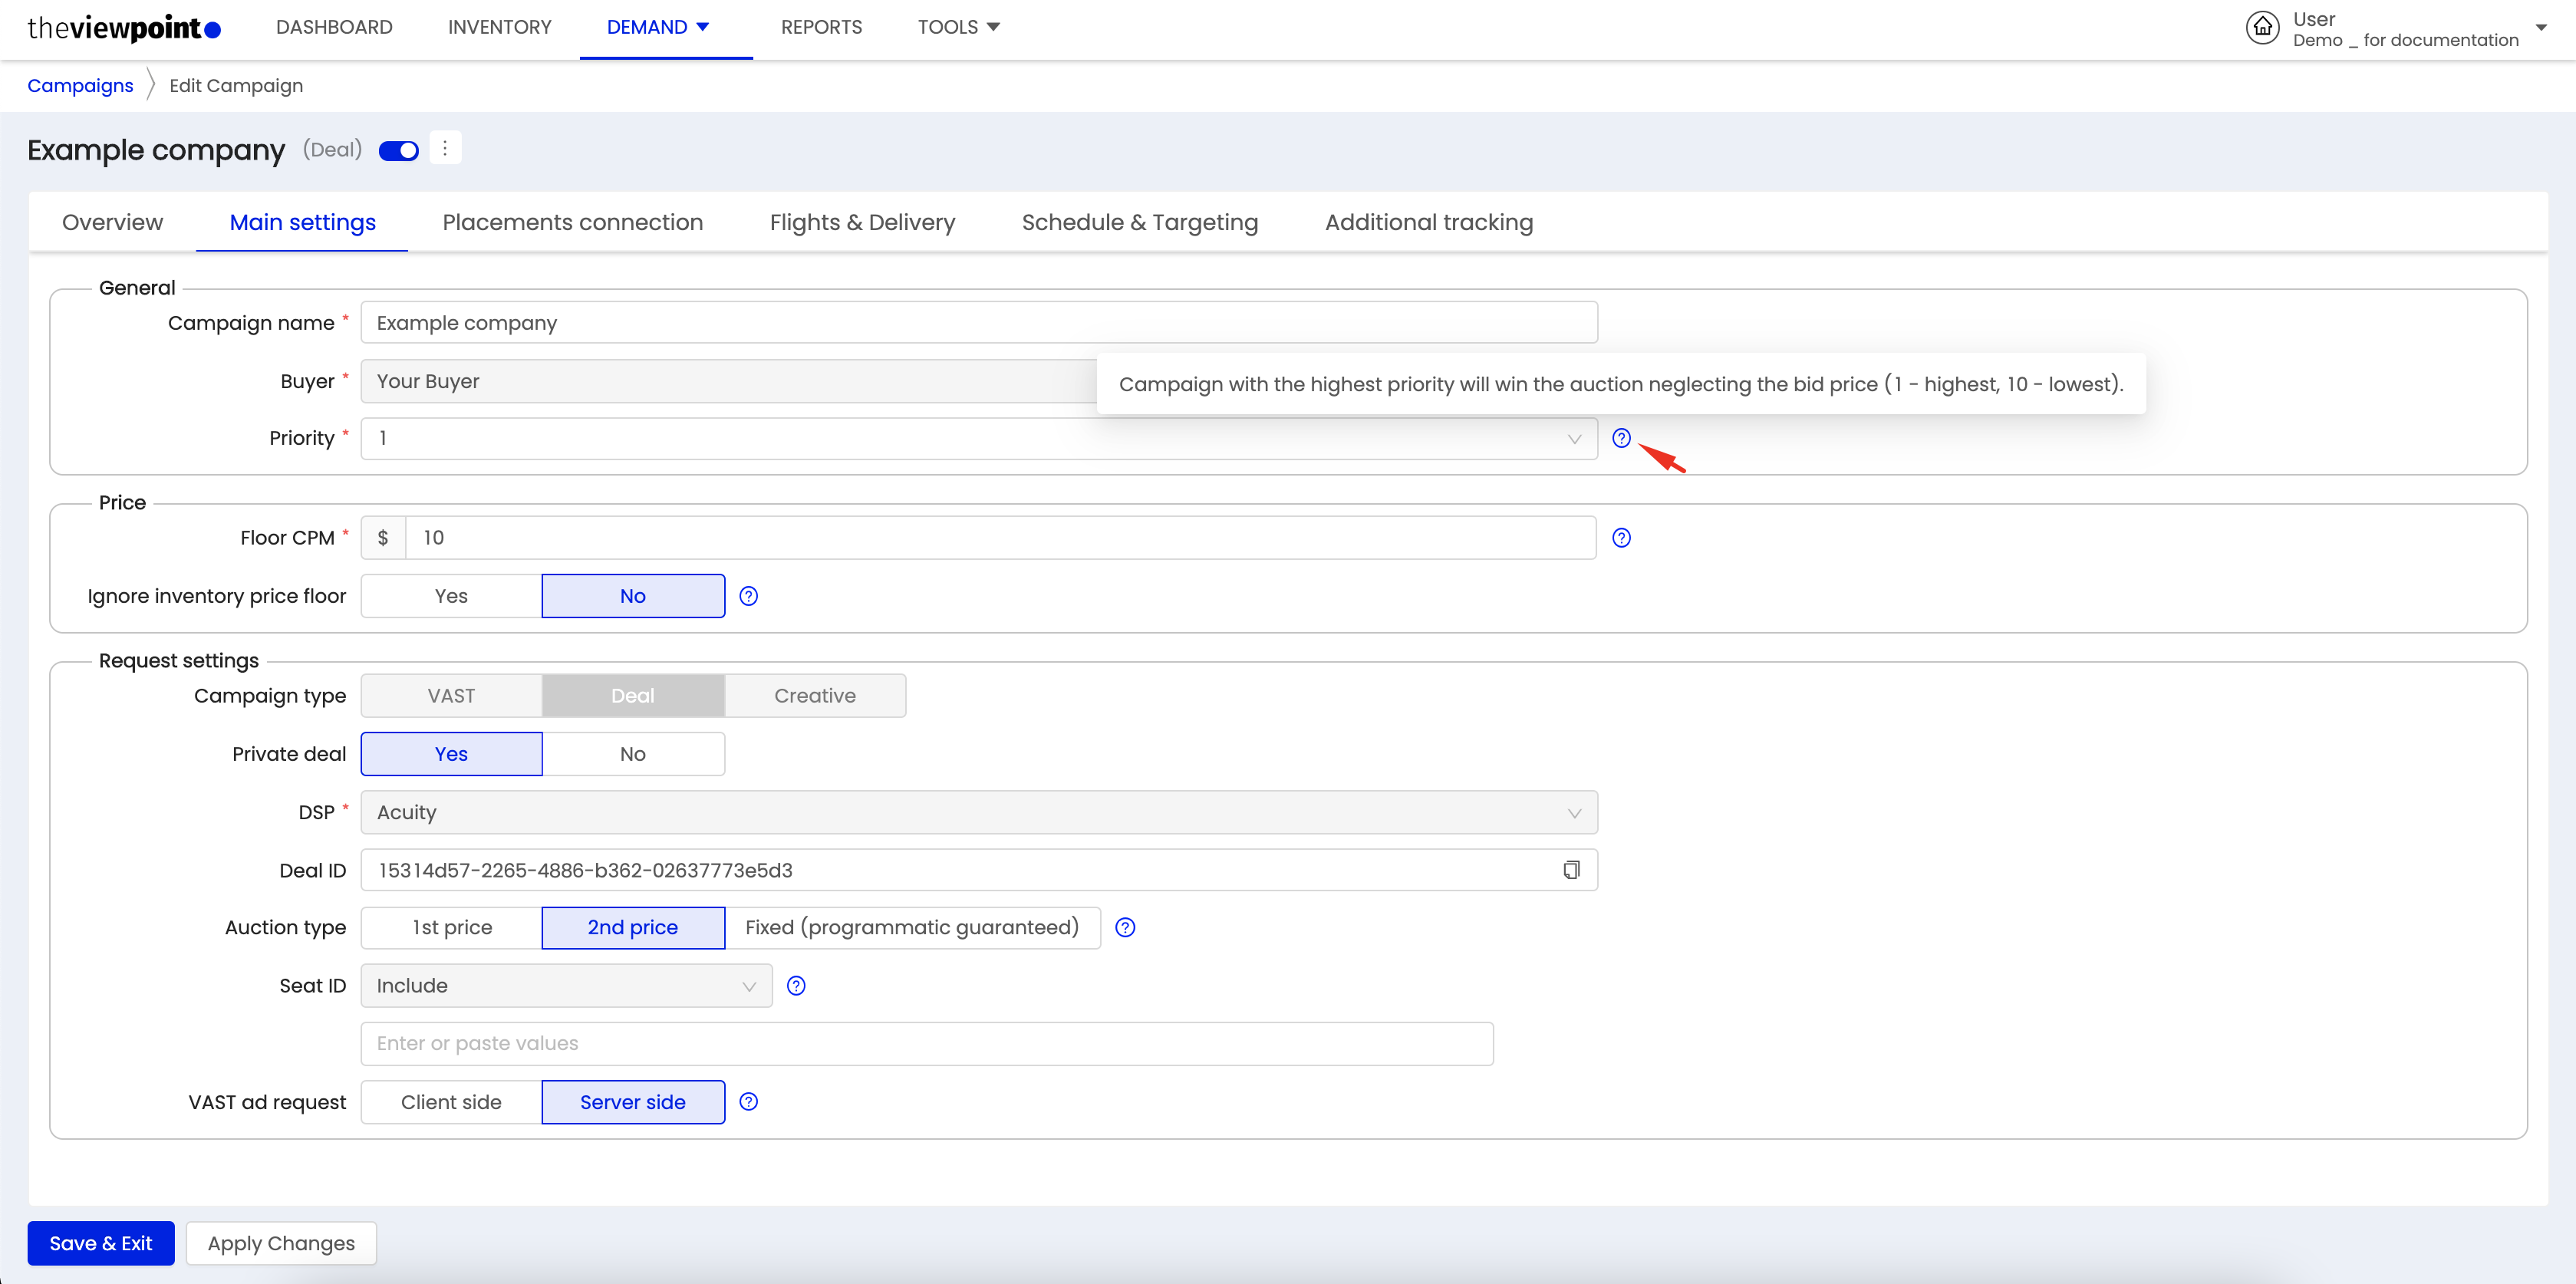 |
An informer next to the setting/page in the form of an info block, always visible | 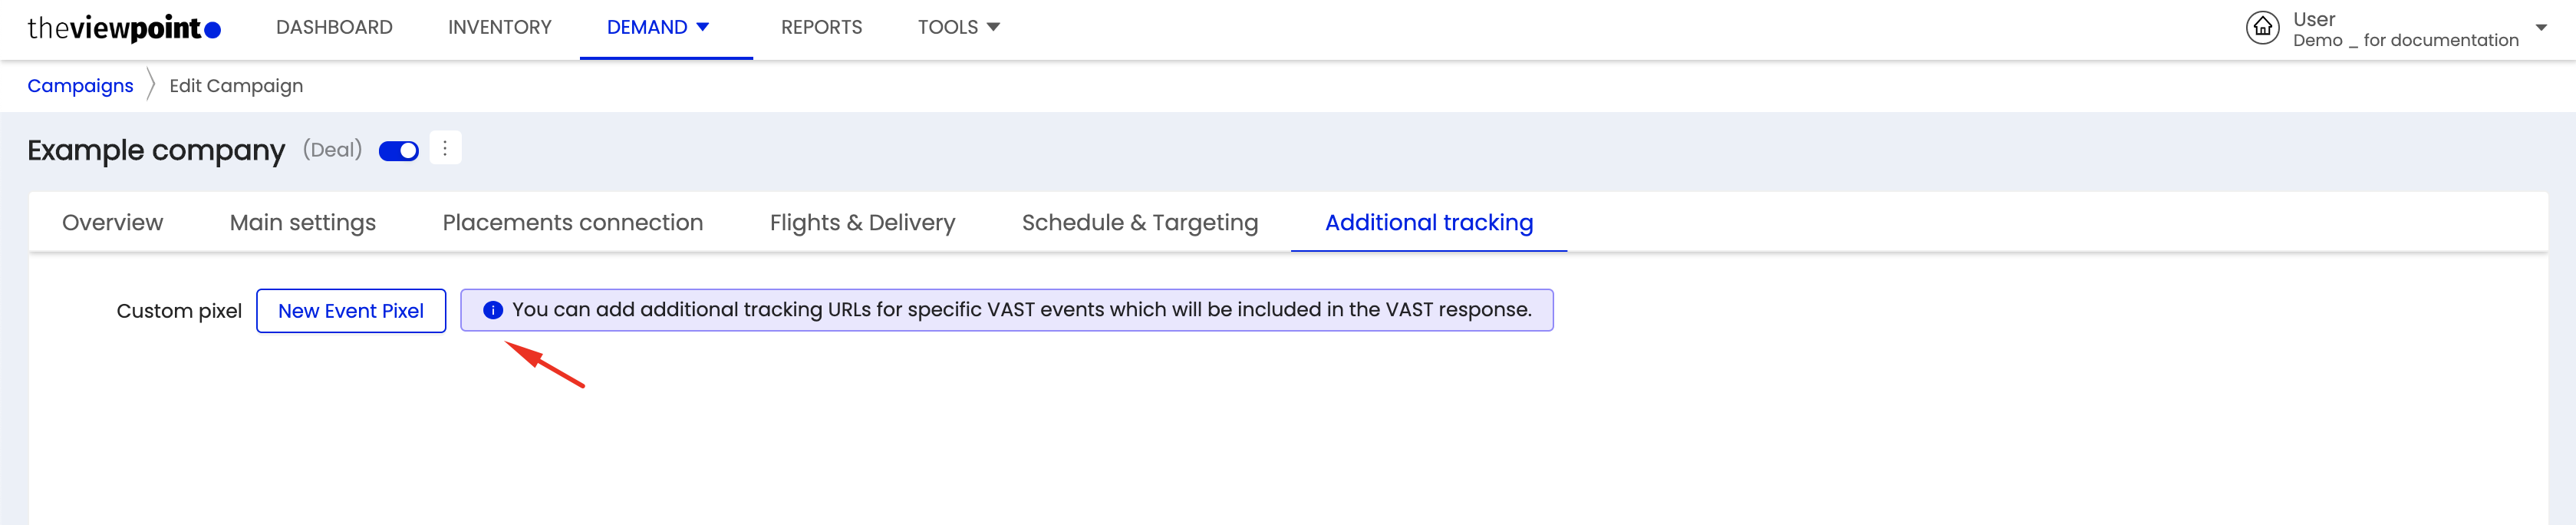 |
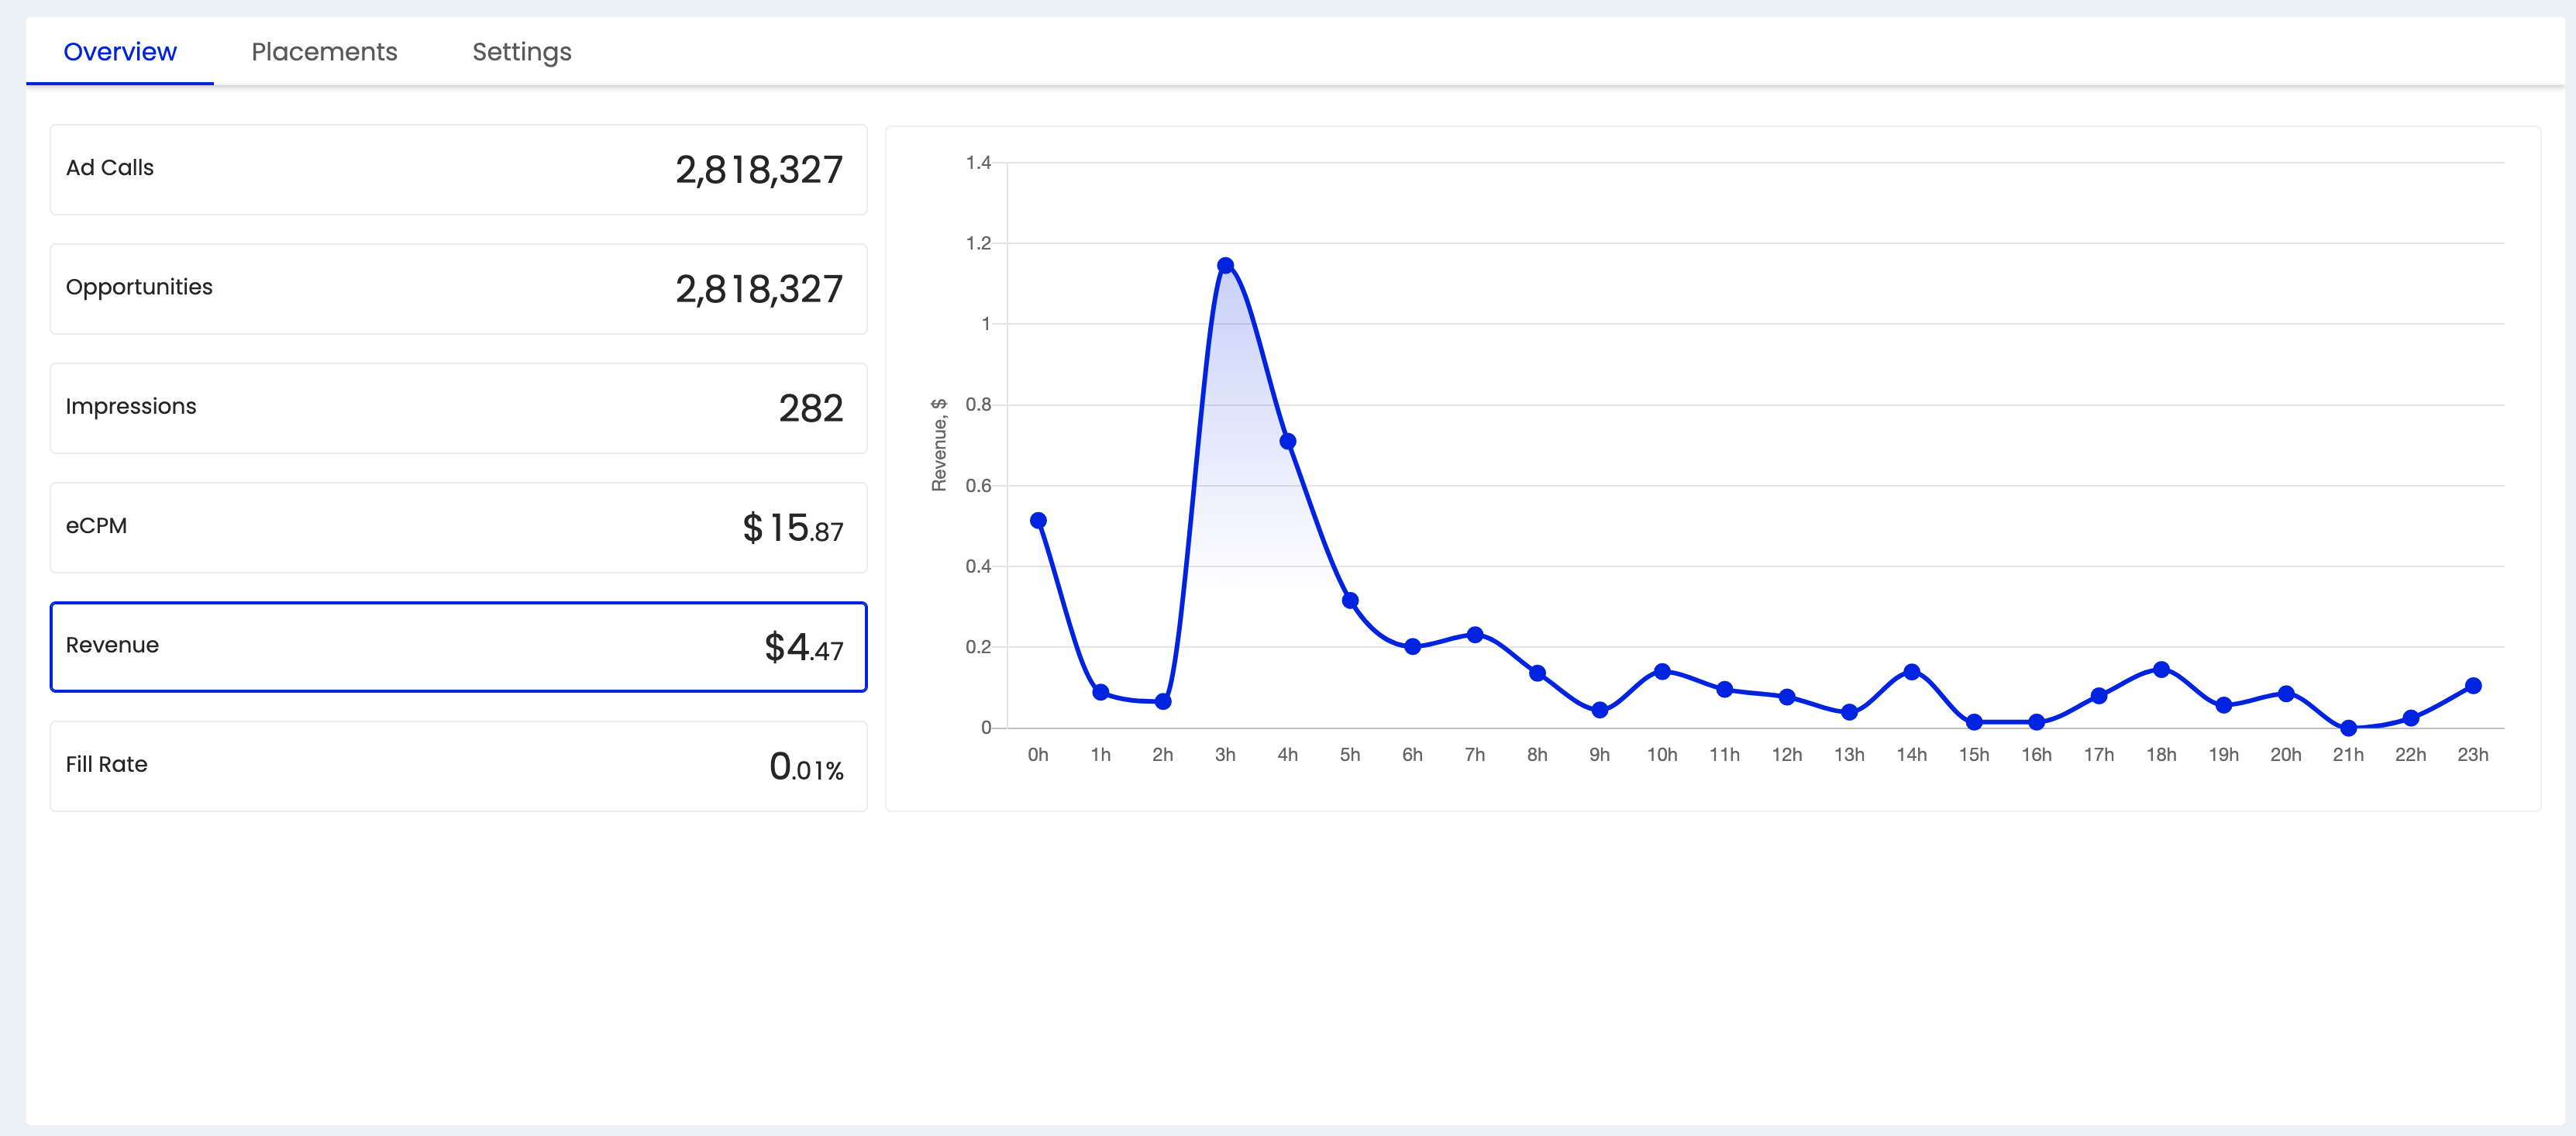
Schedule | ||
|---|---|---|
Case | Description | Screenshot |
Account Dashboard |
| 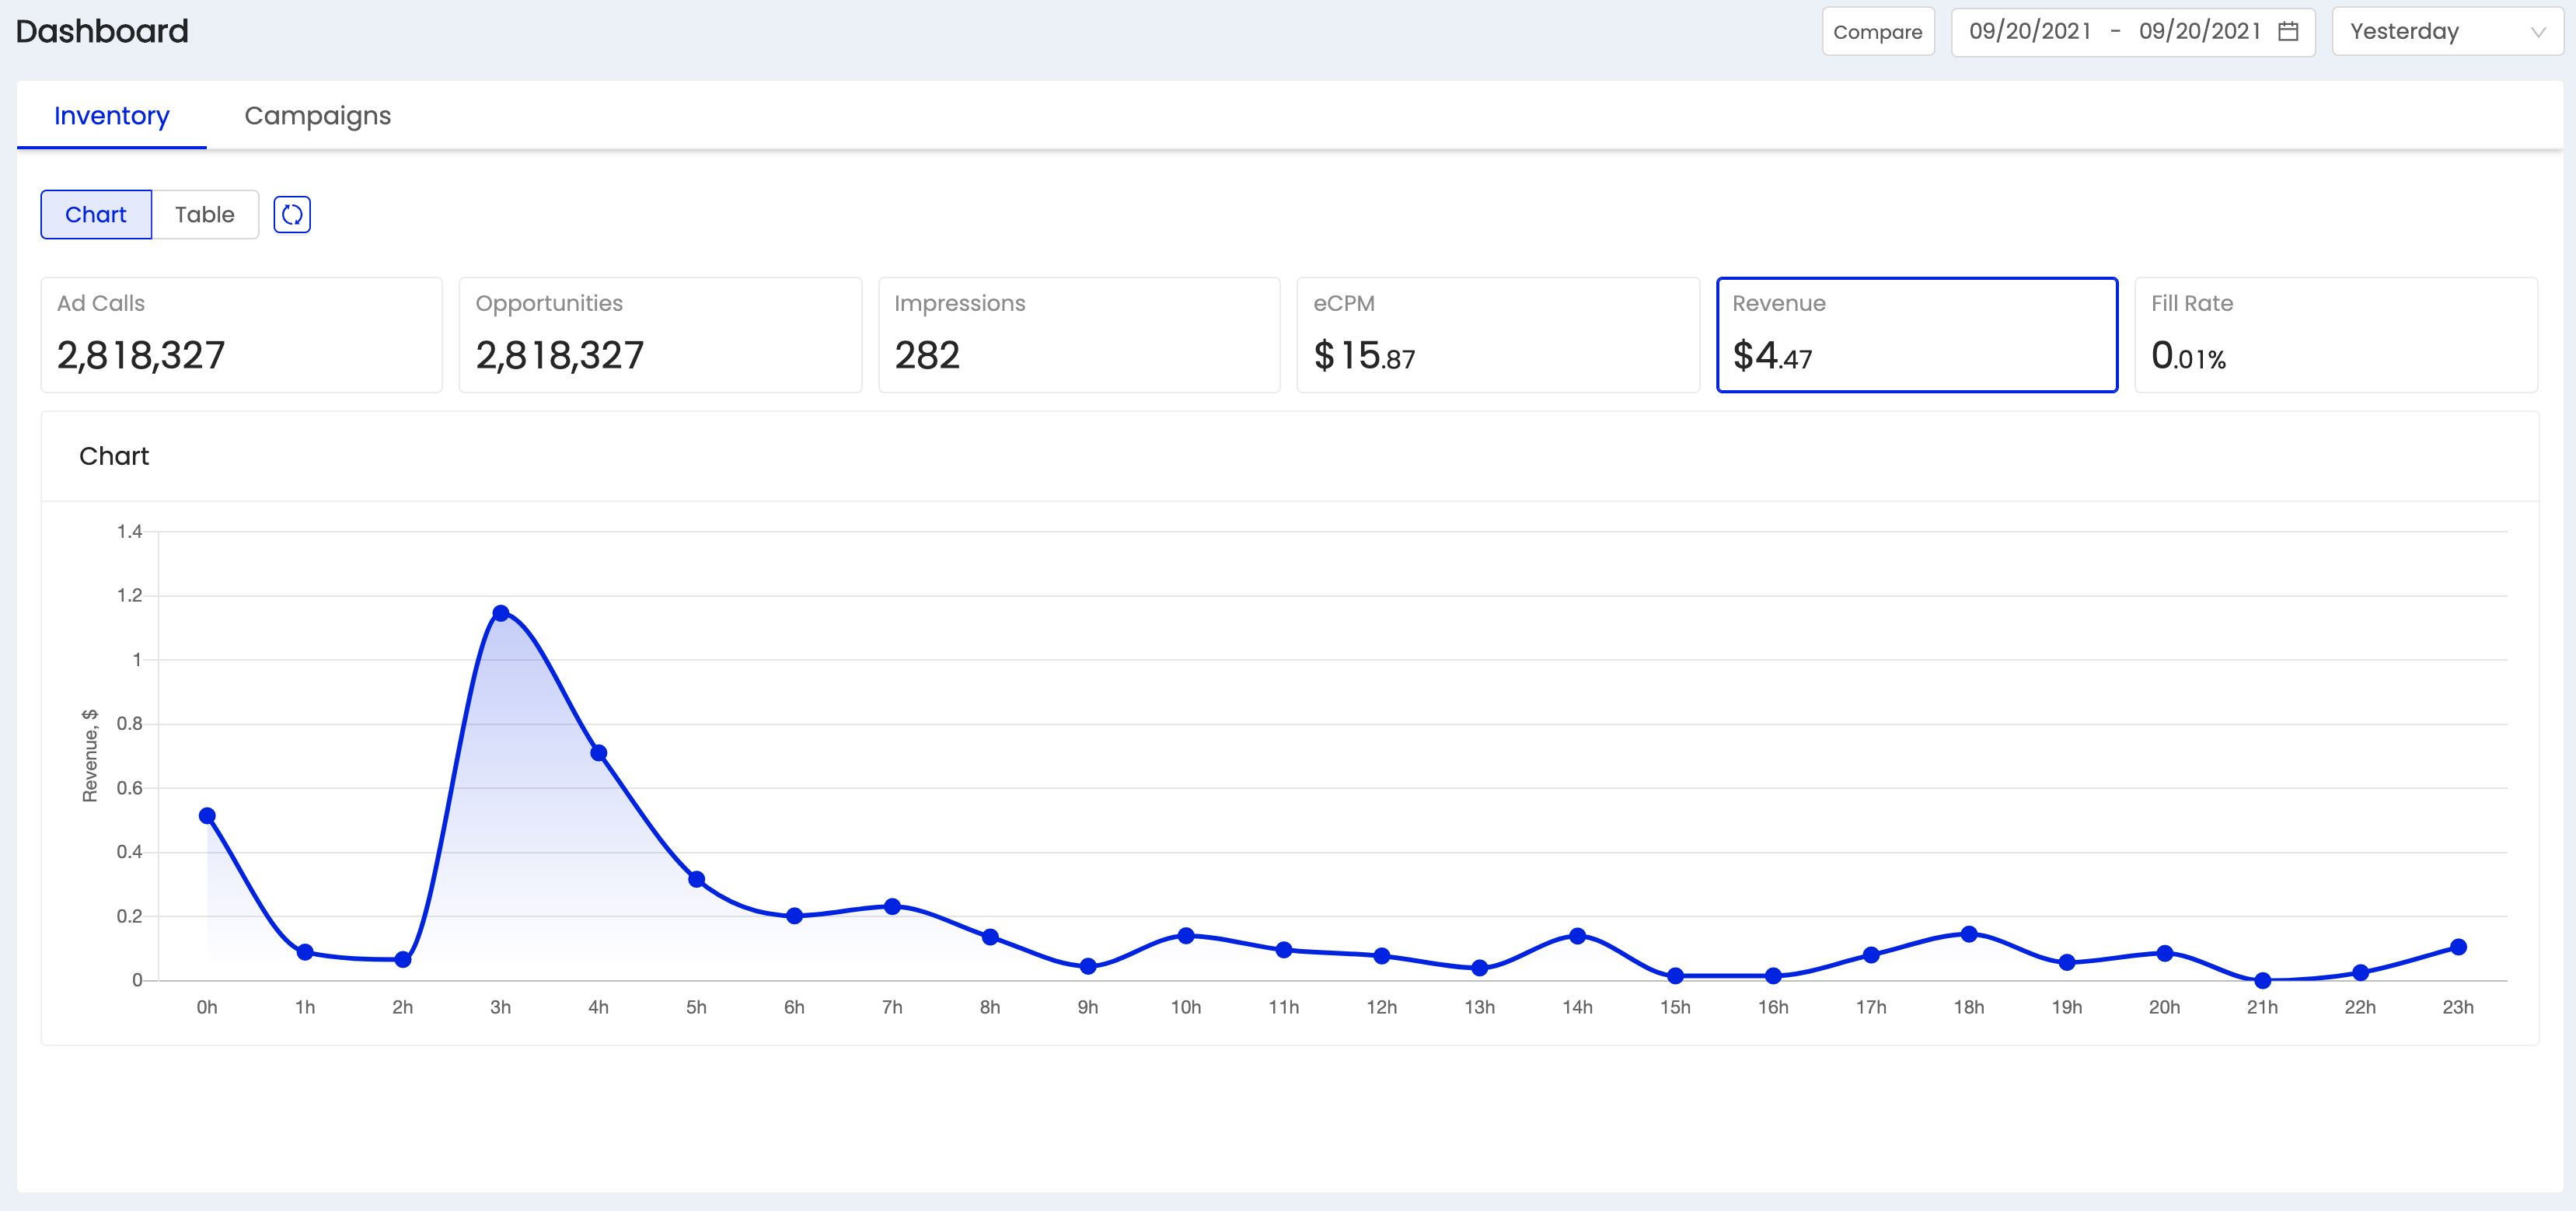 |
Entity Dashboard |
|  |
Additionals
More actions | ||
|---|---|---|
Case | Description | Screenshot |
Go to report | Reports will open in a new window, in which this entity will already be selected/filtered | 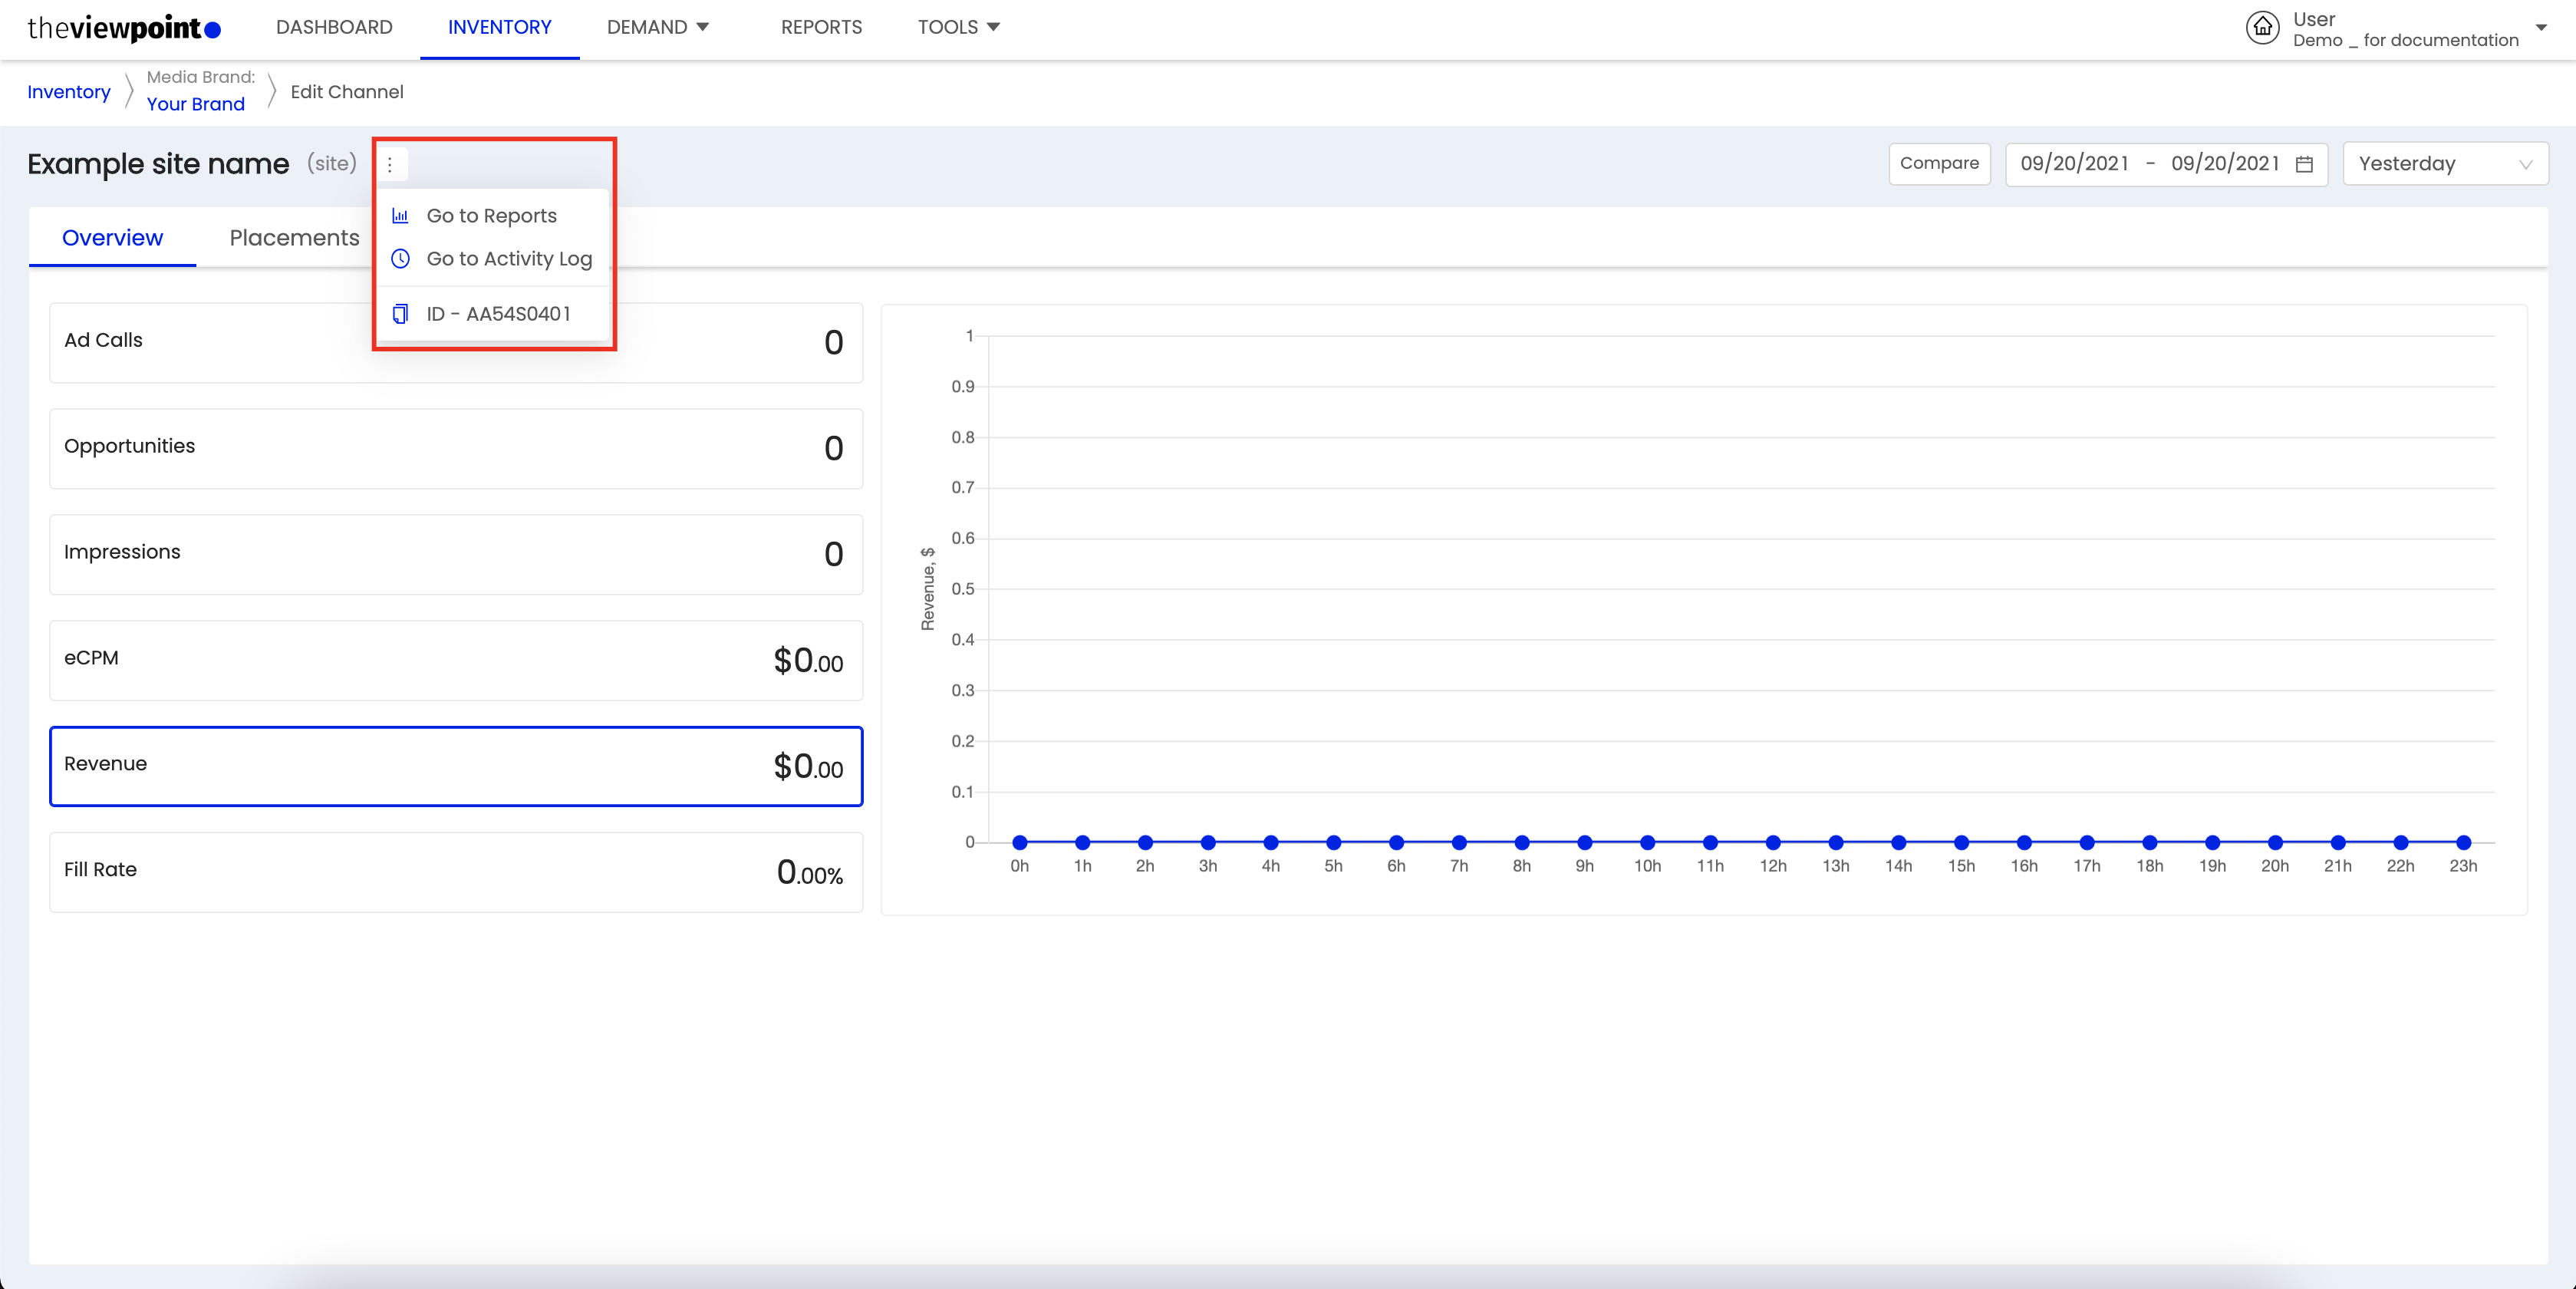 |
Go to Activity Log | Activity Log will open in a new window, in which this entity will already be selected/filtered | |
Copy | Copy the ID of this entity to the clipboard | |
Clone | Copy selected entity | |
Go to Troubleshooting | Troubleshooting will open in a new window, in which this entity will already be selected/filtered | |